Strawberry
Cupcake Recipe:
Ingredients:
10
oz package of frozen halved strawberries in syrupa box of white cake mix
4oz of cream cheese (half a package)
1/4 cup butter
1 tsp vanilla
approx 2 cups powder
24 fresh strawberries
[optional
red food coloring to the frosting]
1)
Thaw your frozen strawberries and set out your butter and cream cheese to
soften
2)
preheat your oven to 350 degrees
3)
line you muffin tin with cupcake liners
4)
drain 3 tbsp. of strawberry syrup into a bowl and set aside
5)
drain the rest of the strawberry syrup into a measuring bowl
6)
add enough water to the remaining syrup so you have a total of 3/4cup
7)
prepare the cake mix according to the directions on the package except
substituting the liquid for you syrup-water mixture
substituting the liquid for you syrup-water mixture
8)
add the drained strawberries (you may want to cut to a smaller size)
9)
spoon the batter into the muffin cups about 2/3 full
10)
bake about 18minutes
11)
For the frosting - beat the cream cheese, butter, vanilla, and reserved
3tbsp of strawberry syrup [optional red food coloring]
3tbsp of strawberry syrup [optional red food coloring]
12)
gradually add powdered sugar
13)
put icing back in refrigerator to set up
14)
once cupcakes are completely cooled, add frosting and garnish with a
fresh strawberry
fresh strawberry
These cupcakes must stay refrigerated
ps....
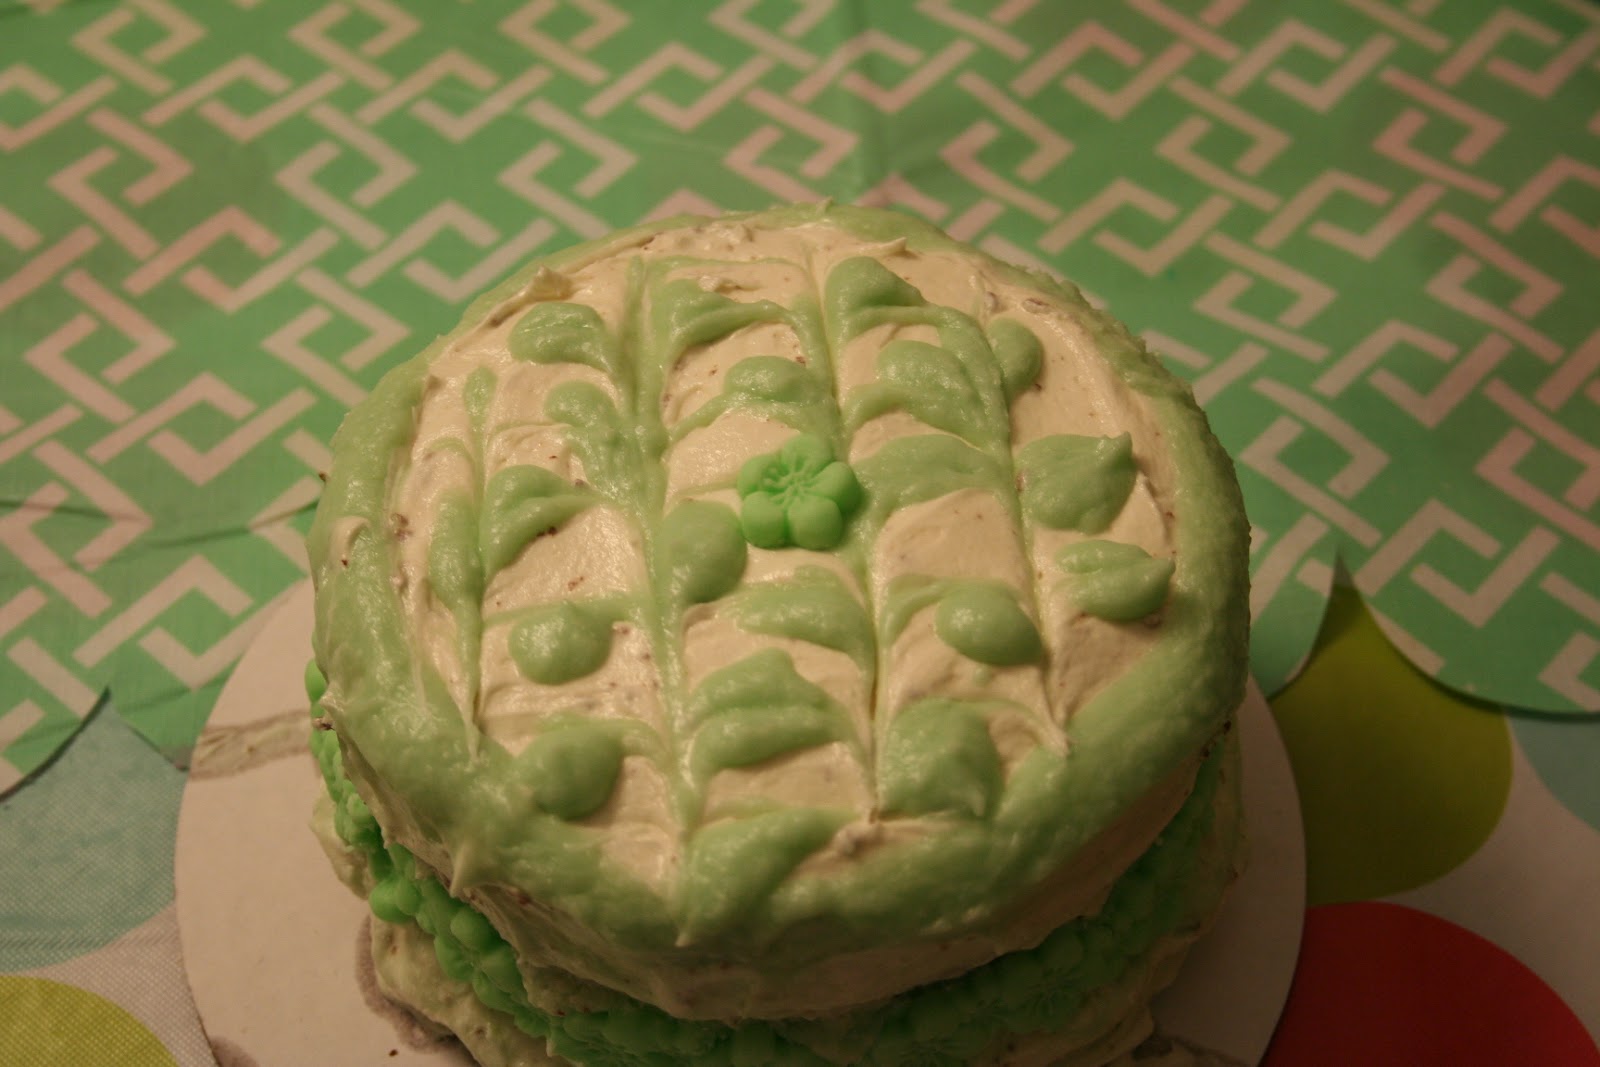
You can always make this in a layer cake or in a single layer heart shaped cake.

Cake Decorating Party
 | ||||
| This is a store bought ice cream cake that my little monkey decorated. |
Hello -
My youngest little monkey just turned 12 years old last week. She loves shows like Cake Boss, Ultimate Cakes, and Cupcake Wars. So it seemed only fitting when she decided on the cake decorating party theme.
I was a little worried at first because I am not very experienced in cake decorating myself. But that was no problem. The kids creativity took over and everyone had a lot of fun.
We used homemade buttercream icing along with fondant for accents. The buttercream icing is very sweet but very easy to make.
Recipe:
1/2c unsalted butter, softened
1 1/2 tsp vanilla extract
2c confectioner's sugar
2 tbsp milk
food coloring optional
Directions: cream room temperature butter with hand mixer. Gradually add confectioner sugar. Then add vanilla and milk. beat for 3-4 minutes. Optional add food coloring for desired color.
Banner
 |
| Birthday banner made from spare pieces of scrapbook paper |
Simply cut out your shapes the size you want (I used dove tailed rectangles, but I have used triangles in the past,) print giant letters from a word doc, cut and glue them to the letters onto the cut pieces of scrapbook paper. (I used a glue stick so the glue moisture would not wrinkle the letters.) Once all of that is done, use an exacto knife to cut slits (that are just slightly longer than the width of your ribbon) in each of the top corners of the scrapbook paper. Finally weave your ribbon in and out of the slits, hang the banner, and enjoy the celebration.
Extra Tip / Warning: I have also glued the scrapbook paper directly to the ribbon. It is an okay method, but I found this method much better because you can adjust the lettering to fit the space once one the wall.
Table Linens

I made coordinating table linens from vinyl table clothes I found at TJ Maxx for $4.99 each. I cut the linens down to fit by simply laying them onto the tables. I made a scalloped template from a piece of a cereal box and a cup. I placed a piece of tape across the center of the cup’s top for a reference mark. Then I simply layed the cup onto the cardboard and traced the outer rim four times. Finally I cut it out. For the table runners, I traced the scalloped design on the back side of the linens with a disappearing marker (found at any craft store in the sewing department) and then cut it out. For the table cloth I layed it onto the table right side down, pinned the corners, and then sewed where the pins were. This created a nice clean and fitted look. After the corners were sewn down I trimmed the excess material. Finally I traced and cut out the scalloped design on the table cloth the same as I did for the table runners.
 |
| layered table runner |
 |
| side view of table runners |
 |
| fitted table cloth with table runner |
 |
| fitted corners side view |
Super Easy Vase
 | |||
| This vase is so easy and cheap. It is great if you need a lot of small vases to decorate tables. They are simply glass grocery store bought Starbucks frappuccino and yahoo bottles. |
Dish Towel Aprons
I made these dish towel aprons for the kids to wear at my daughter's cake decorating birthday party. It was a cute and inexpensive way to keep clothes clean. I liked them so much, I even made myself one. And let me just say, I Love It. I wear my constantly. It is so nice when cooking or crafting to be able to wipe your hands off directly onto your apron. It saves in trying to keep up with a dish towel or using tons of paper towels.


 |
| Materials Needed: standard size dish towel approx 25 1/2 x 16 1/2 ribbon 2 D rings sisicors thread sewing machine |
 |
| Step 1: measure and cut out about 4 inch piece of ribbon |
 |
| Step 2: slide the D rings into the middle of the ribbon, fold ribbon over, pin it at the fold, sew across to secure D rings into place (try to sew as close as you can to the D rings) |
 |
| Step 3: measure and cut a piece of ribbon about 30 inches long |
 |
| Step 4: To make the bib of the apron, from the corners, fold in at an angle approx 4 inches |
 |
| Step 5: slide the D ring strap and long ribbon down into the folds of the bib, pin it, and then sew it. |
 |
| Step 6: To make the waist band cut a piece of ribbon approx 6 ft. Then decide where your want your waistband to be. ( I usually place mine about 10 inches from the top of the bib, but I am short waisted.) Also a little trick I like to do with the ribbon is fold it right sides together and then place the fold on my center and pin it. I then pin across on each side. This helps keep my ribbon even on both sides. After the ribbon is pinned in place sew across the top and bottom of the ribbon. |
 |
| Step7: Finally dove tail the ends and secure them with either fray check, craft glue, or what I like to do is adhere iron on vinyl to both sides. |
 |
| Have Fun and Don't Be Afraid to Make a Mess |
If you like the apron but don't want to make it yourself, they are for sell in my etsy shop. www.etsy.com/shop/gracsun .
No comments:
Post a Comment